Navigation & Orientation
Every preview carries always-on navigation aids, plus screenshot export and find-by-ID.
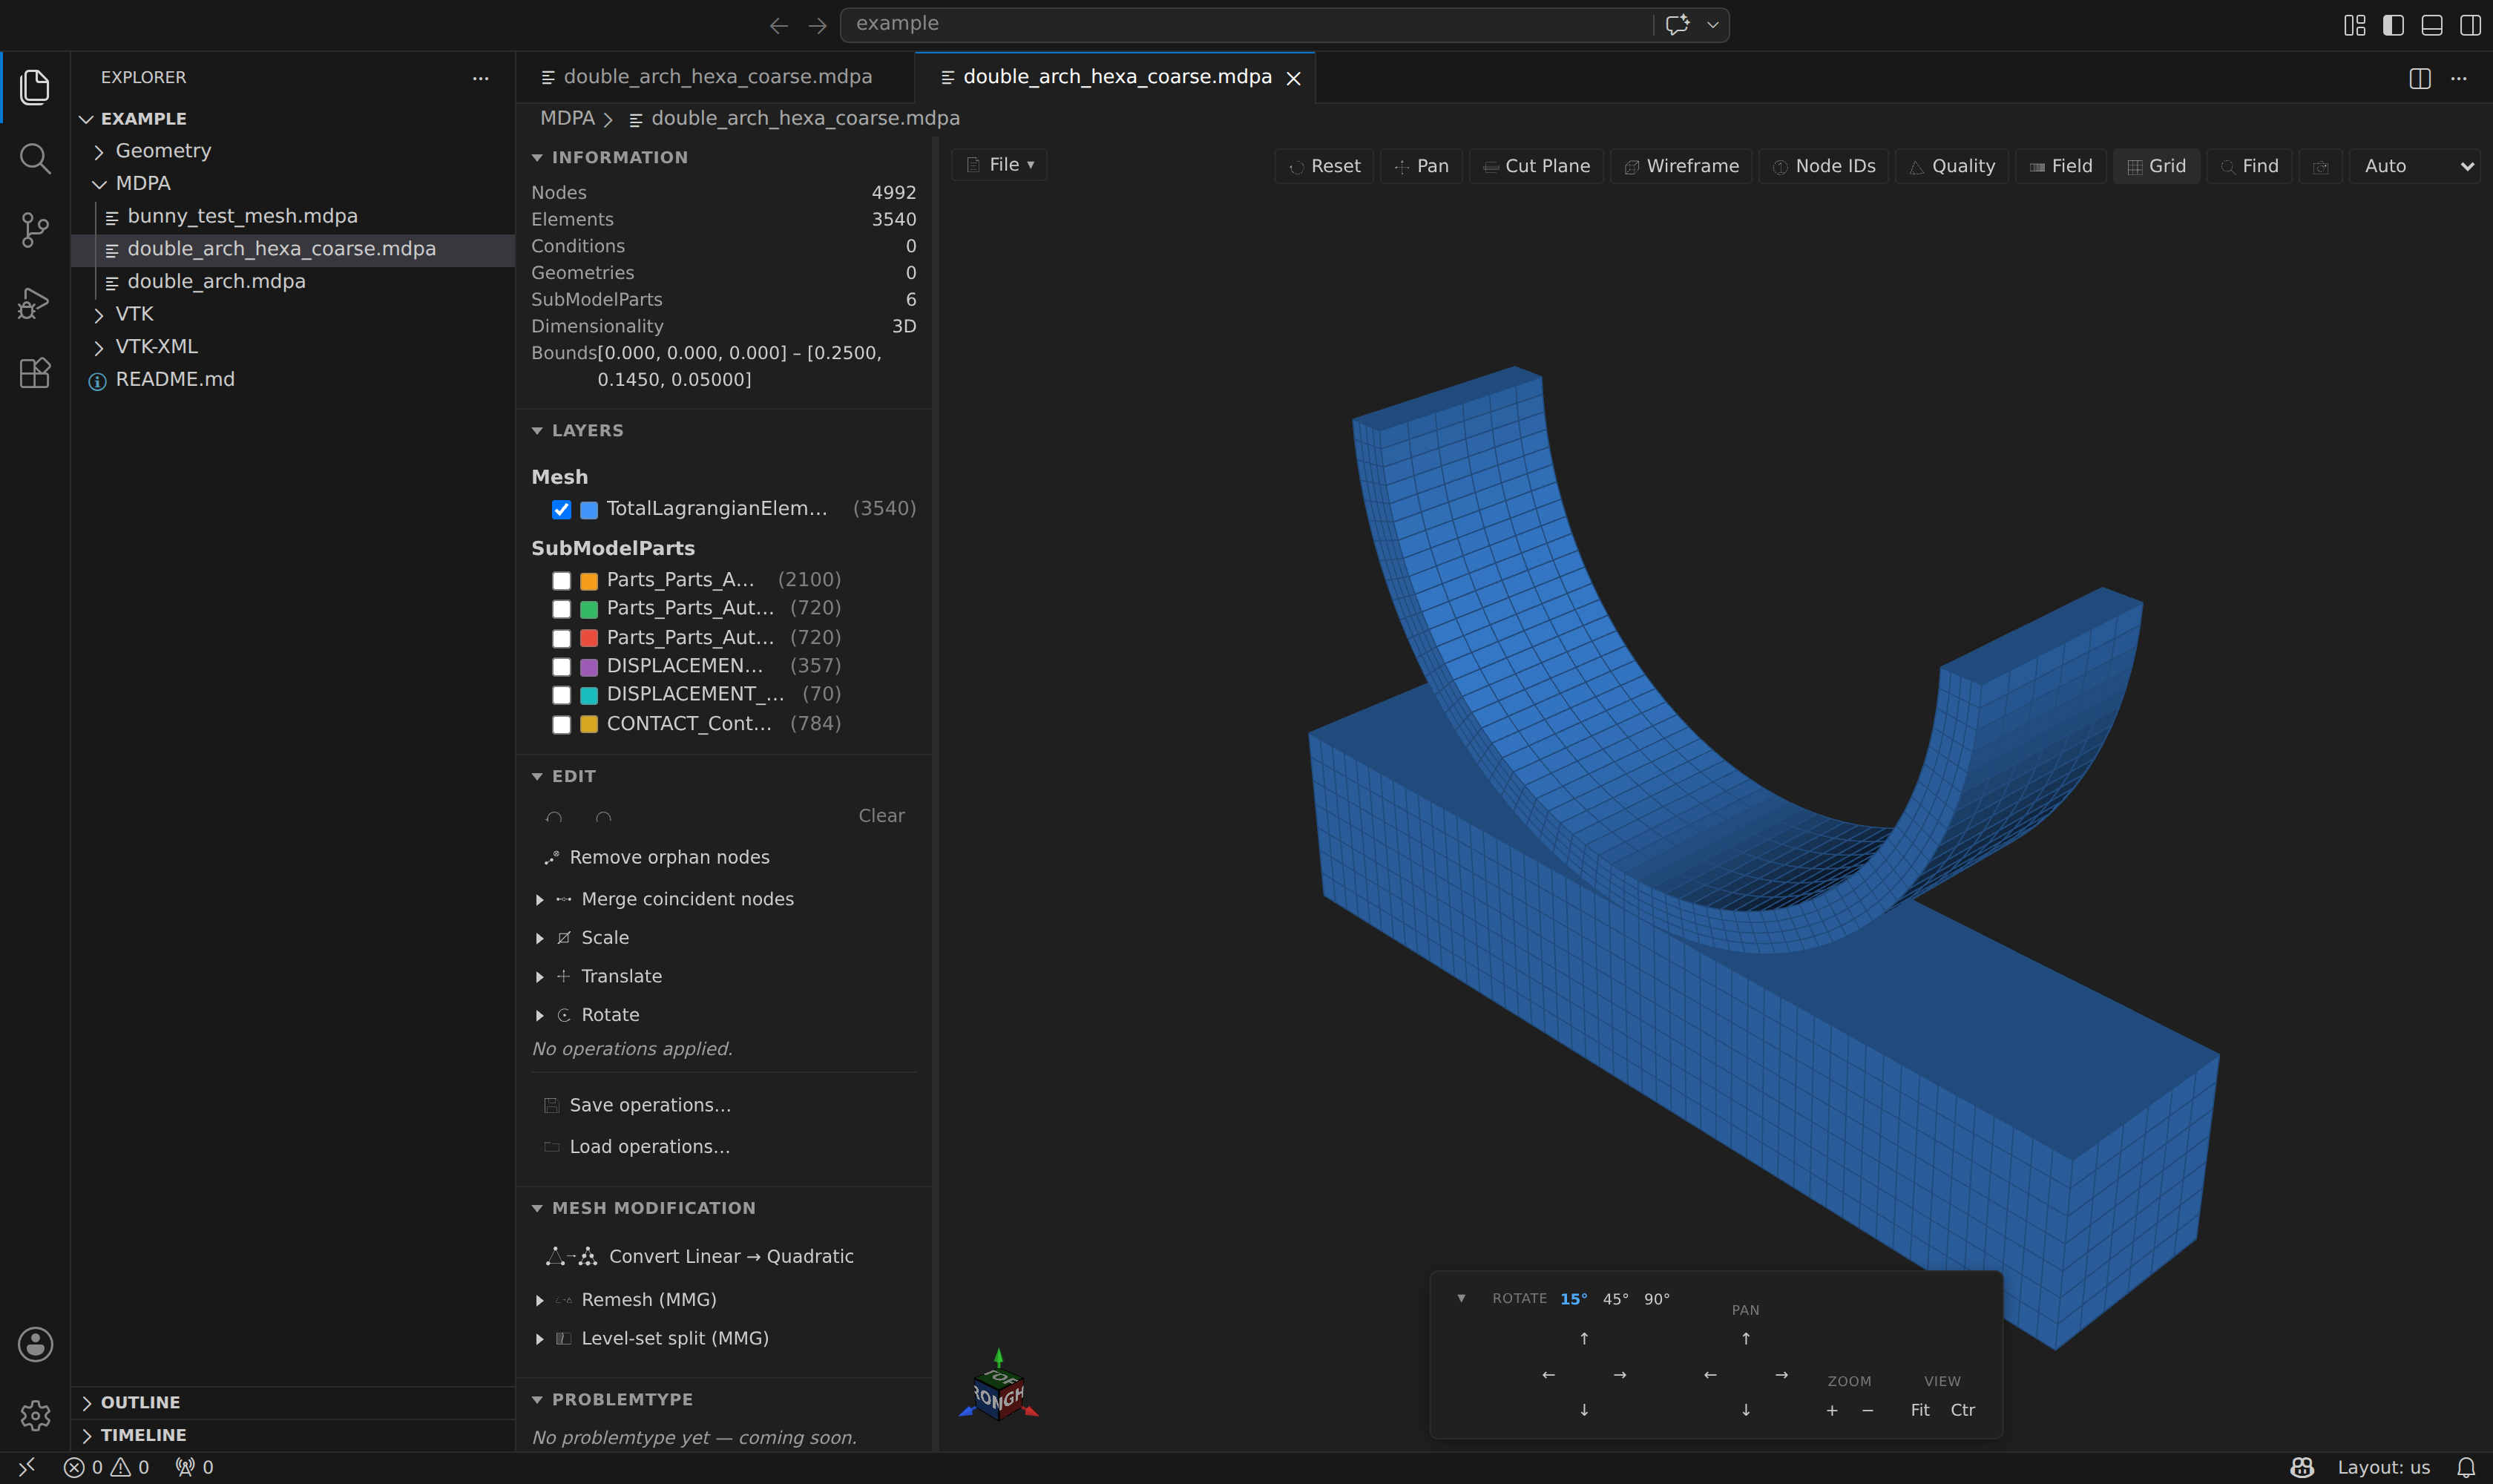
Orientation cube & axis arrows
An always-visible labeled cube sits in the bottom-left corner (RIGHT / LEFT / TOP / BOTTOM / FRONT / BACK) and follows the camera as you orbit. Prominent X (red), Y (green), and Z (blue) axis arrows with letter labels radiate from it. Click a cube face to snap the camera to that canonical axis direction. The label colors adapt to the light / dark scene theme.
Navigation controls
A floating dock appears at the bottom-centre of the viewport once a model loads — one row of the everyday controls, which wraps to two rows in a narrow window:
- Reset view — back to the default front view (looking down −Z, +Y up), framed to the model.
- Fit — frame all visible geometry, keeping the current orientation (same as the toolbar's Reset button).
- Zoom out / Zoom in — dolly the camera (×0.8 / ×1.25); press-and-hold for continuous zoom.
- Shaded | Wire, the Clip group and the Persp / Ortho button — see Extras.
- ⋯ opens a popover above the dock (click outside or press
Escto close it; clicking inside leaves it open):- Rotate — a step picker (15° / 45° / 90°) and four arrows that orbit the camera (azimuth / elevation); press-and-hold for continuous rotation.
- Pan — four arrows that translate the camera plane (step proportional to the current zoom level).
- Clip — Flip, and the X / Y / Z normal inputs when the Free axis is selected.
- Appearance — the scene-theme picker (VS Code) and the global model-opacity slider.
- View — Center on model (re-center the focal point on the visible bounds without changing the orbit angle or zoom) and the Edges toggle.
- The chevron at the end collapses the whole dock to a single small button.
Every control is reachable from the keyboard, and all of them are webview-local — no round-trip to the extension host.
Background grid
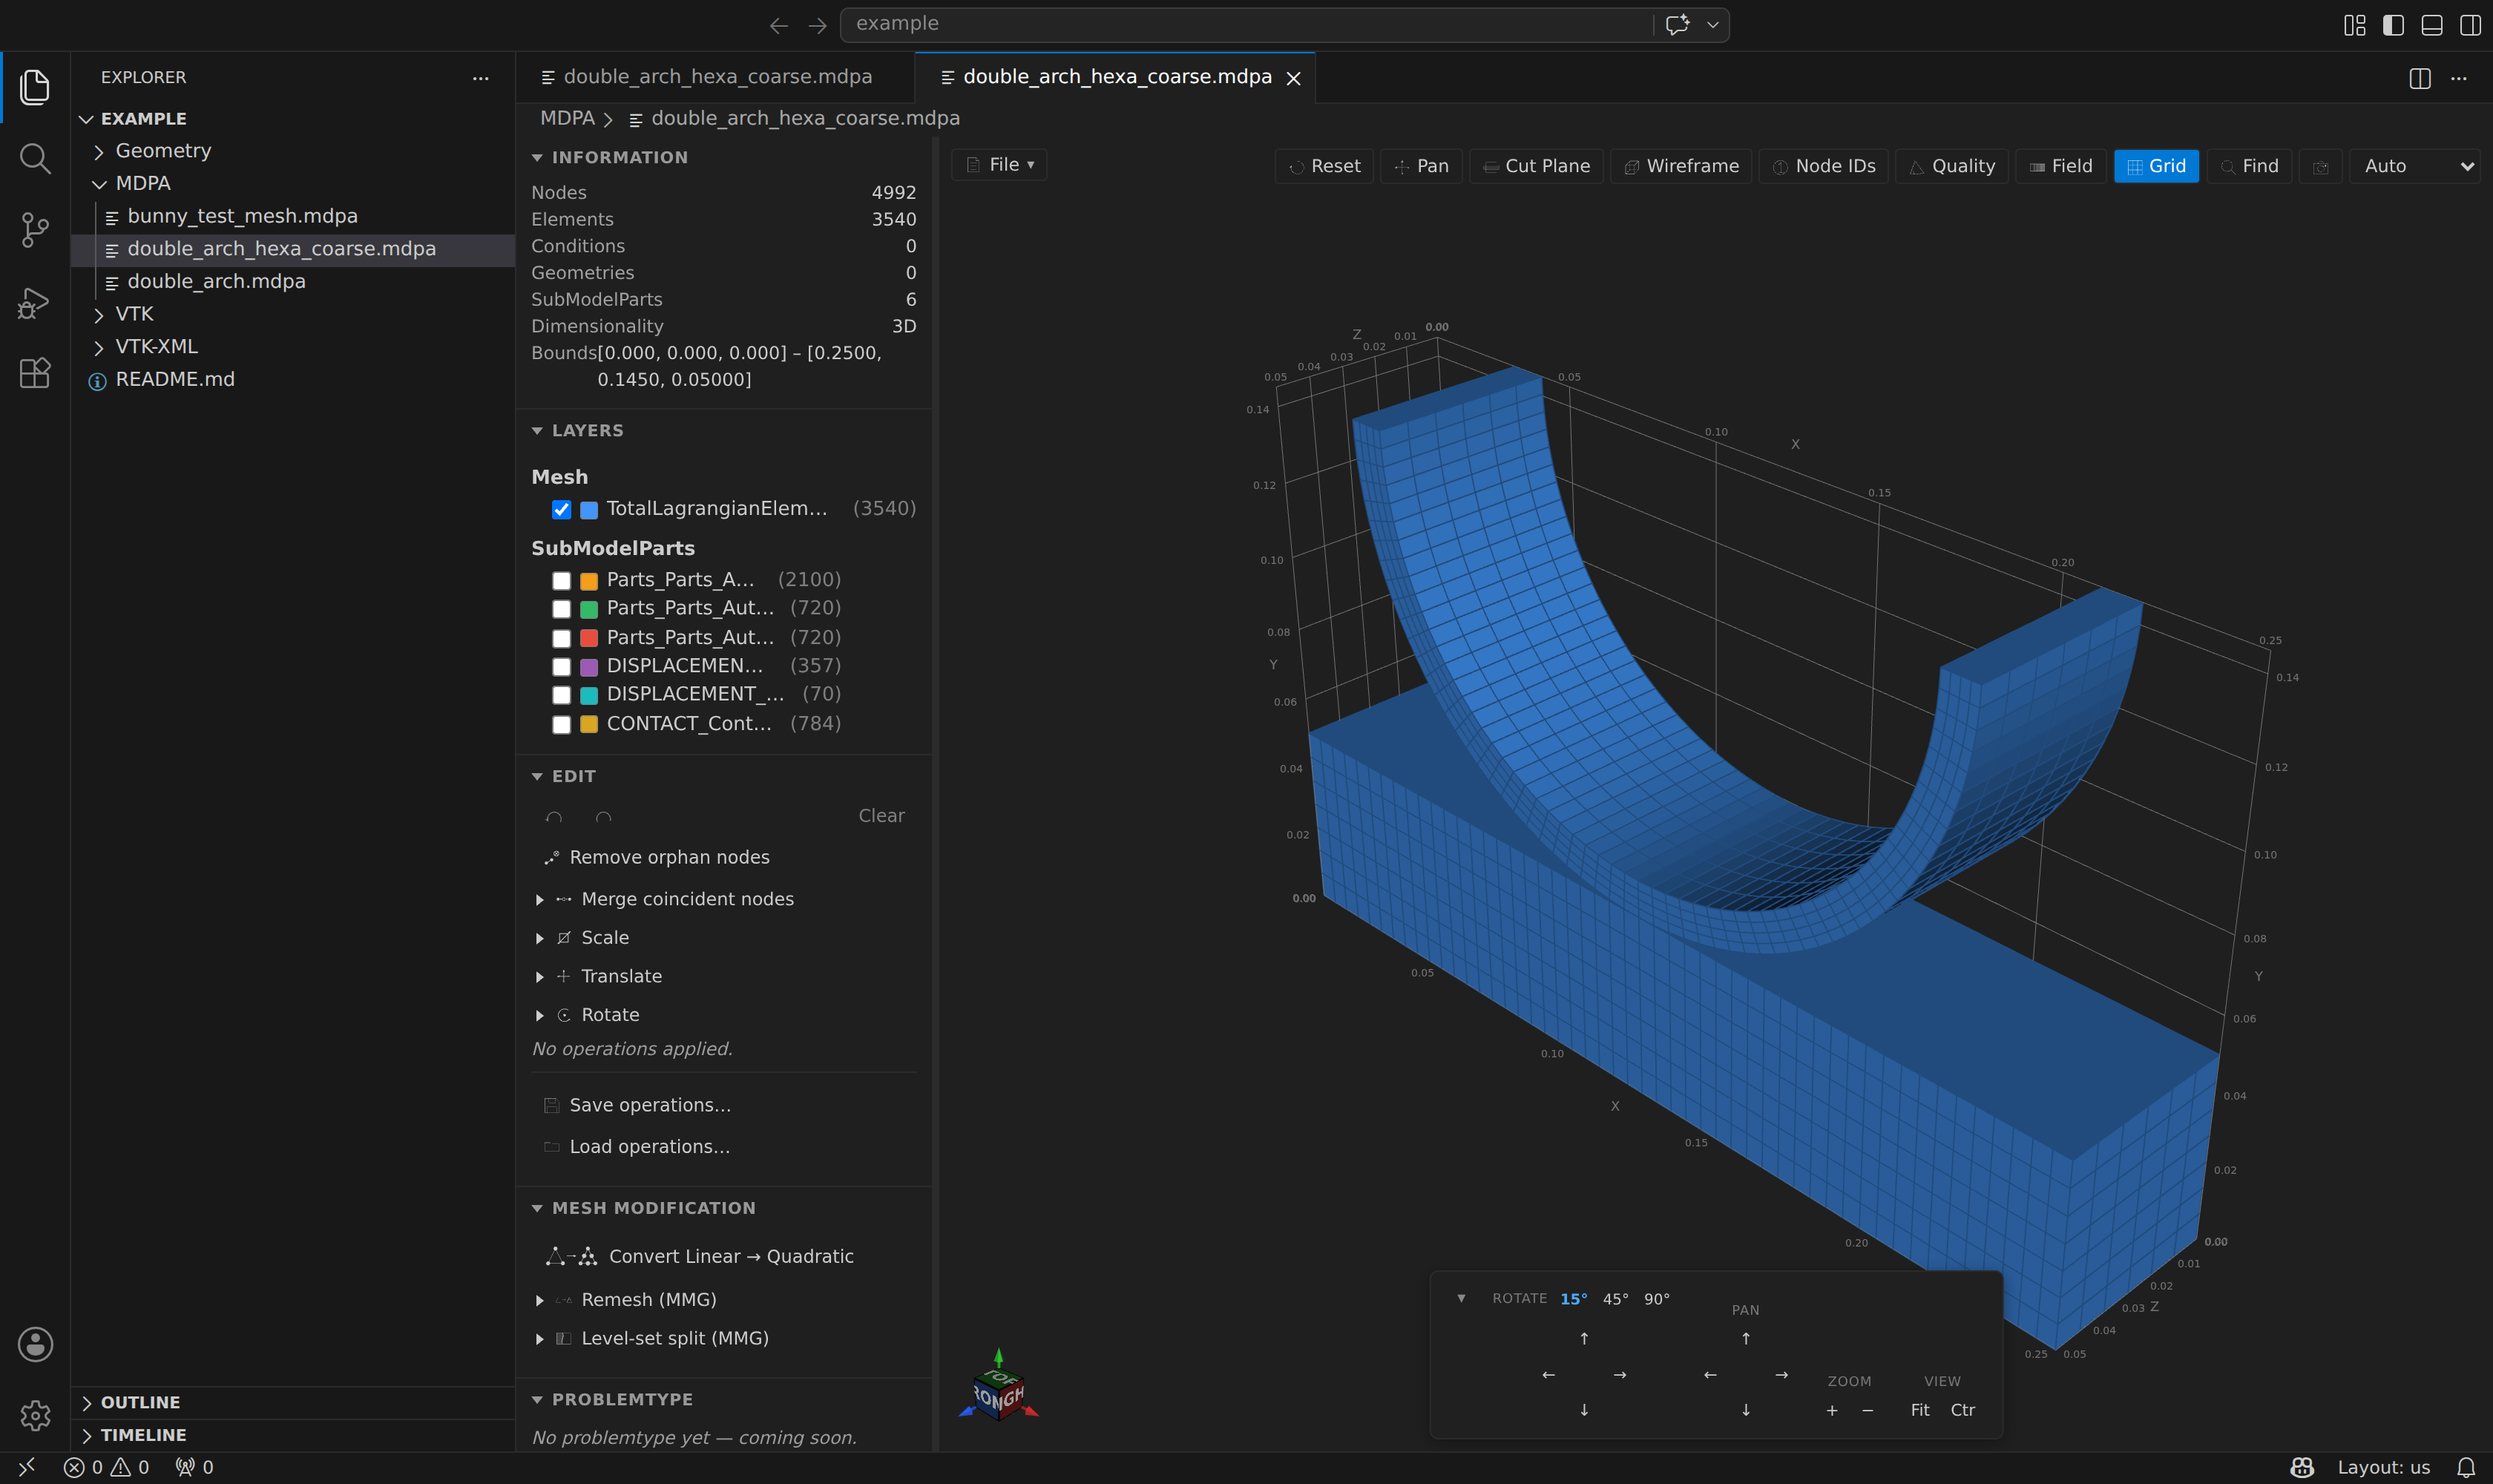
The Grid item in the View ▾ menu toggles a bounding-box grid with labeled X / Y / Z axes and tick marks around the mesh — handy for reading off coordinates and scale. Axis and tick label colors adapt to the active theme.
Screenshot export
The Screenshot… item in the View ▾ menu captures the current viewport as a PNG and opens a Save dialog pre-filled with the source file's name (e.g. mesh.png next to mesh.mdpa). It uses VTK.js's captureNextImage() for correct WebGL swap-chain timing.
TIP
SVG export is not possible — the viewport is a rasterized WebGL canvas.
Find entity by ID
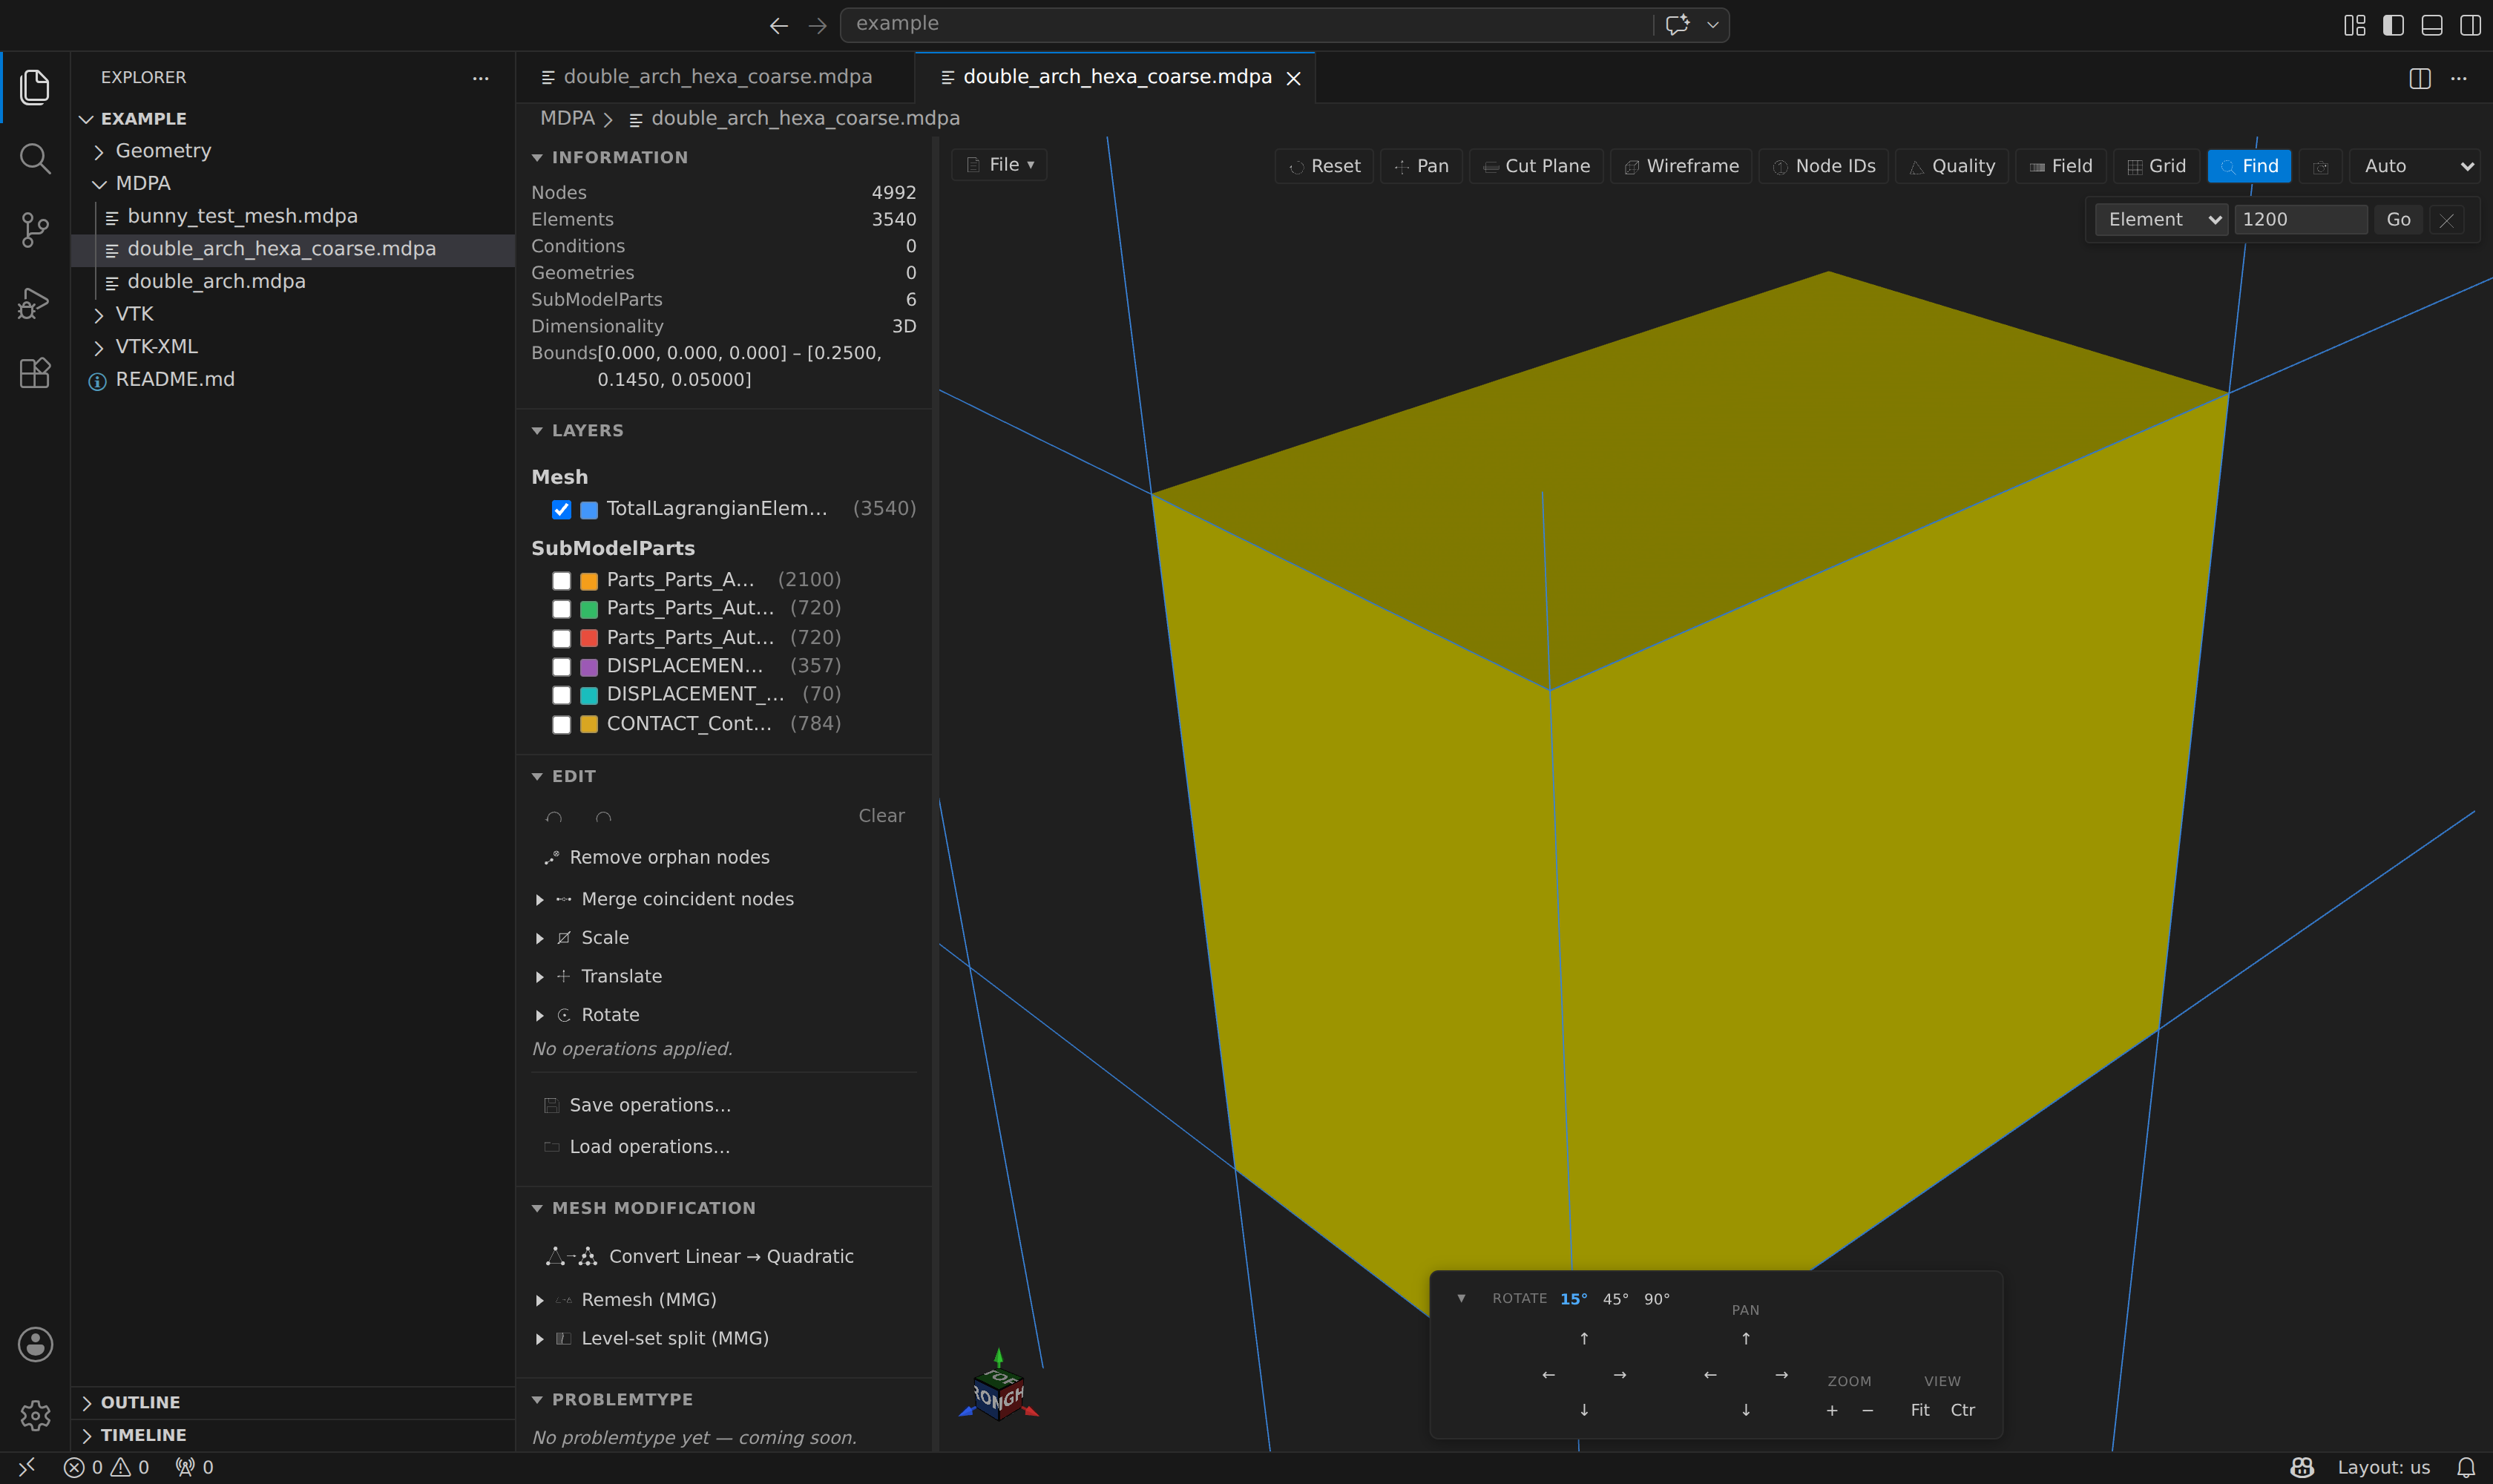
The Find toolbar button (or the Find Entity by ID command) opens a search bar: choose Node, Element, Condition, or Geometry, type an ID, and press Go. The matched entity is highlighted in yellow and the camera zooms to it, while every other layer drops to wireframe for contrast. Closing the bar restores the previous display state.
Inspect
The Inspect toolbar button turns clicks on the mesh into a probe — no id needed up front, unlike Find. Click any node, element, or condition and a floating panel shows its id, block, SubModelPart membership, and every field value defined at it (both the clicked entity and its nearest node, when both resolve). The picked entity is highlighted and a Frame button zooms to it.
Inside the panel, a Measure toggle switches to a two-click distance tool: click a first node, then a second, and the panel reports the distance and Δx/Δy/Δz between them with a line drawn in the 3D view.
Extras
- Clip — an interactive clipping plane to slice into a solid mesh, in the dock's CLIP group: the Off / On toggle, the X / Y / Z / Free axis segments (Free for an oblique cut — type a normal vector's X/Y/Z components in the ⋯ popover), the position slider with its live readout, and Flip (in the popover) for the direction. The section is capped with a filled surface (colored by the active Contour field, when one is shown) and its element intersection edges, not just a hollow clip. Export slice… (in the ⋯ popover, while Clip is on) writes that cross-section as a mesh file, cut from the mesh's own cells with meshio++ and carrying the interpolated nodal fields and the source cell of every face (
SOURCE_ENTITY_ID/SOURCE_ENTITY_KIND). - Display: Shaded / Wire / Edges — the dock's Shaded | Wire segments render all layers shaded or as edges only; Edges (in the ⋯ popover) toggles the cell edge lines (off so a transparent mesh reads as surfaces rather than a wire cage).
- Layer opacity — hover any outline row (mesh block or SubModelPart) for a small opacity button that opens a live 0–100% slider.
- Scene theme — the dropdown in the ⋯ popover's Appearance section switches the viewport between Auto, Dark, Light, and Scientific palettes.
- Persp / Ortho — the dock's button toggles the camera between perspective and orthographic (parallel) projection.
- Advanced ▸ Lighting… — global specular / ambient / diffuse sliders and a backface-culling toggle (useful for spotting an inverted shell element from the inside).
- Advanced ▸ Camera Bookmarks… — save the current view under a name and restore it later; the list resets when the preview reloads, but a Camera JSON textarea lets you copy a view out (or paste one in and click Apply) for sharing across sessions.
- Standard views — press
1–6for the six axis-aligned views (±X/±Y/±Z) orifor an isometric-style corner view; same views as clicking a face of the orientation cube.