Your first bracket
This tutorial builds an L-bracket: a base plate, an upright wall fused to it, a fillet along the inside corner, and two counterbored bolt holes. It covers the ops you will reach for most — primitives, a boolean, a fillet, and the hole family — plus how the Edits history lets you undo, reorder, and jump back through your own work.
It should take about 15 minutes.
Starting point
Open examples/STP/block.stp from this repository — a 3 × 4 × 5 mm box centred on the origin. See the convention for why the tutorials start from a seed block rather than an empty document; the first thing you add here swallows it.
Open the Edits panel in the sidebar. It has two tabs — GEOMETRY (things that create bodies) and EDIT (things that modify them) — and you will use both.
Step 1 — The base plate
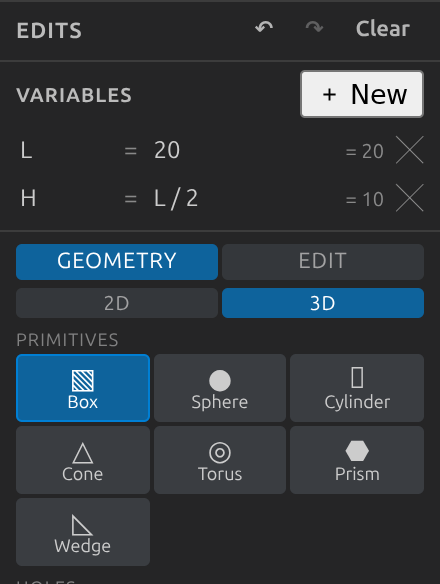
- In the Edits panel, select the GEOMETRY tab and then the 3D sub-tab.
- Click Box. The parameter form opens below the icon grid.
- Set Center to
0, 0, 0and Size to60, 40, 6, then click Apply.
The plate spans ±30 in X, ±20 in Y, and ±3 in Z — which comfortably contains the seed block's ±2.5 in Z, so the seed vanishes inside it. The new solid is solid-1; the seed keeps solid-0.
Step 2 — The upright wall
- Click Box again.
- Set Center to
0, -17, 18and Size to60, 6, 30, then click Apply.
This is a 6 mm-thick wall standing on the back edge of the plate, rising to z = 33. It arrives as solid-2. At this point the two boxes are touching but still separate bodies — rotate the view and you can see the seam.
Step 3 — Fuse them into one body
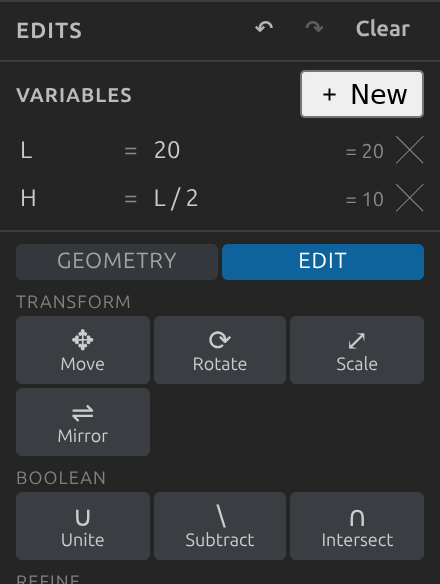
- Switch to the EDIT tab.
- Click Union in the Boolean category.
- Set A to
solid-1(the plate) and B tosolid-2(the wall), then click Apply.
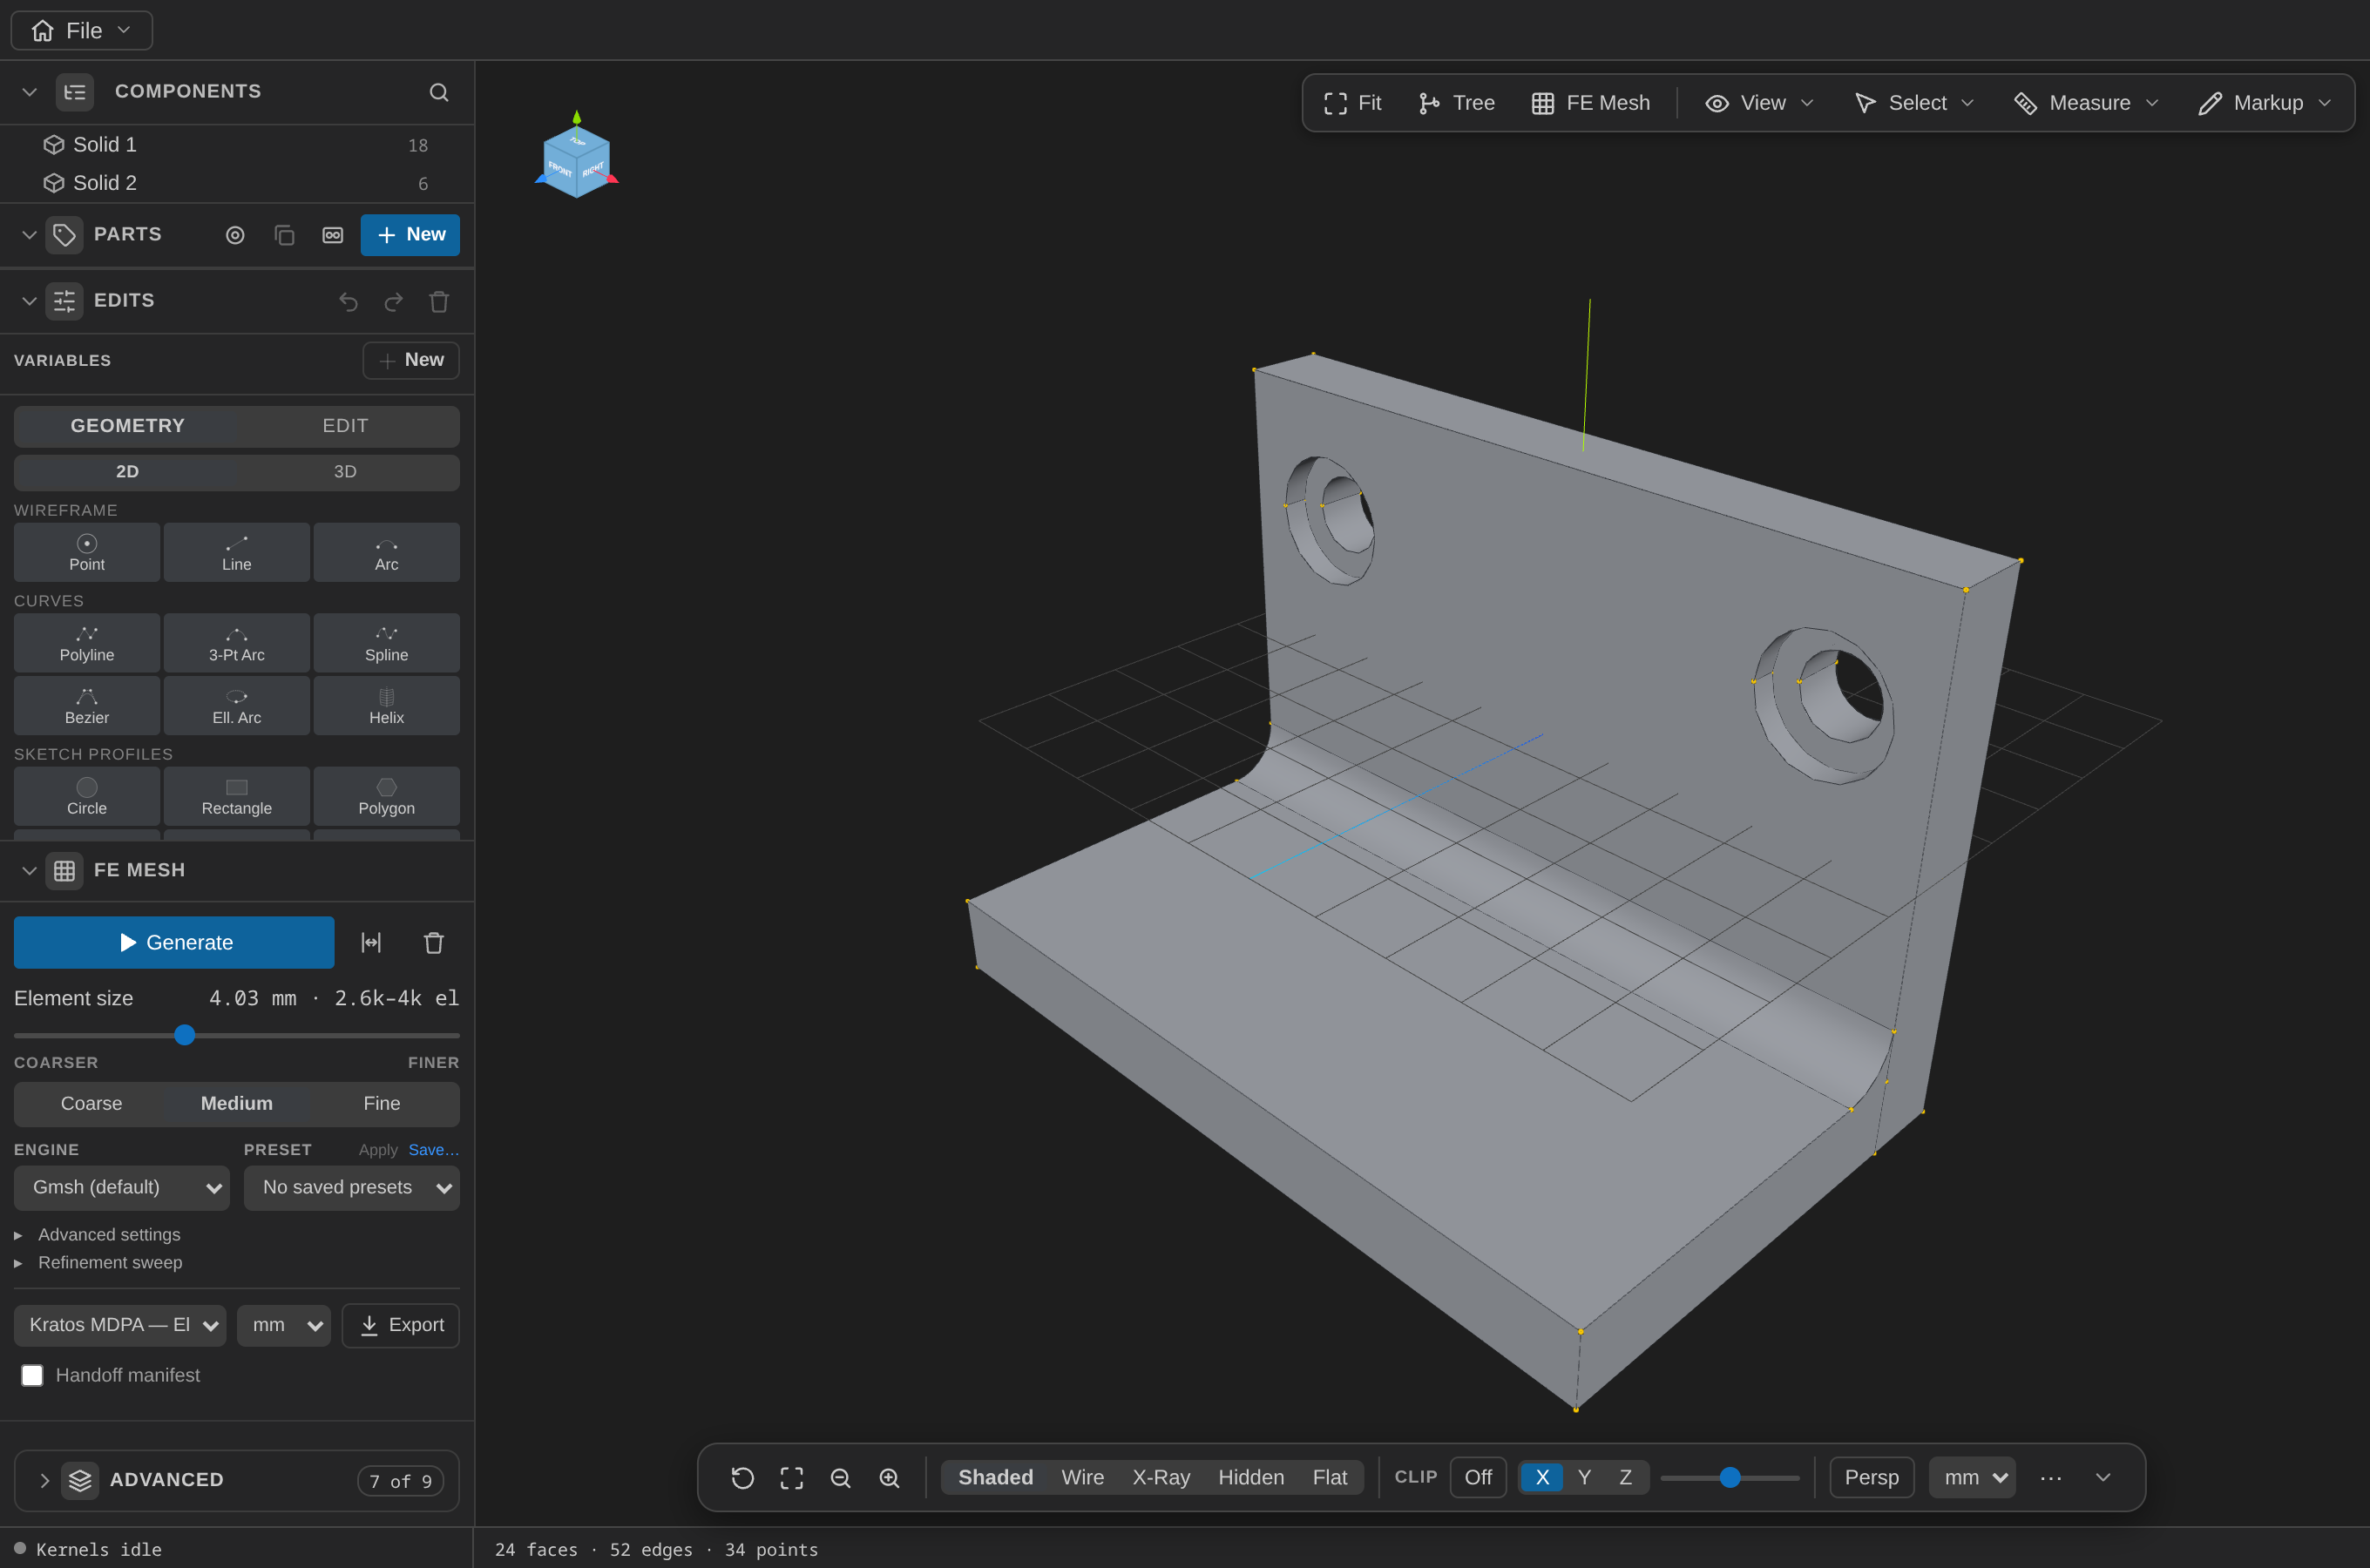
The seam disappears and the two boxes become a single 11-face solid.
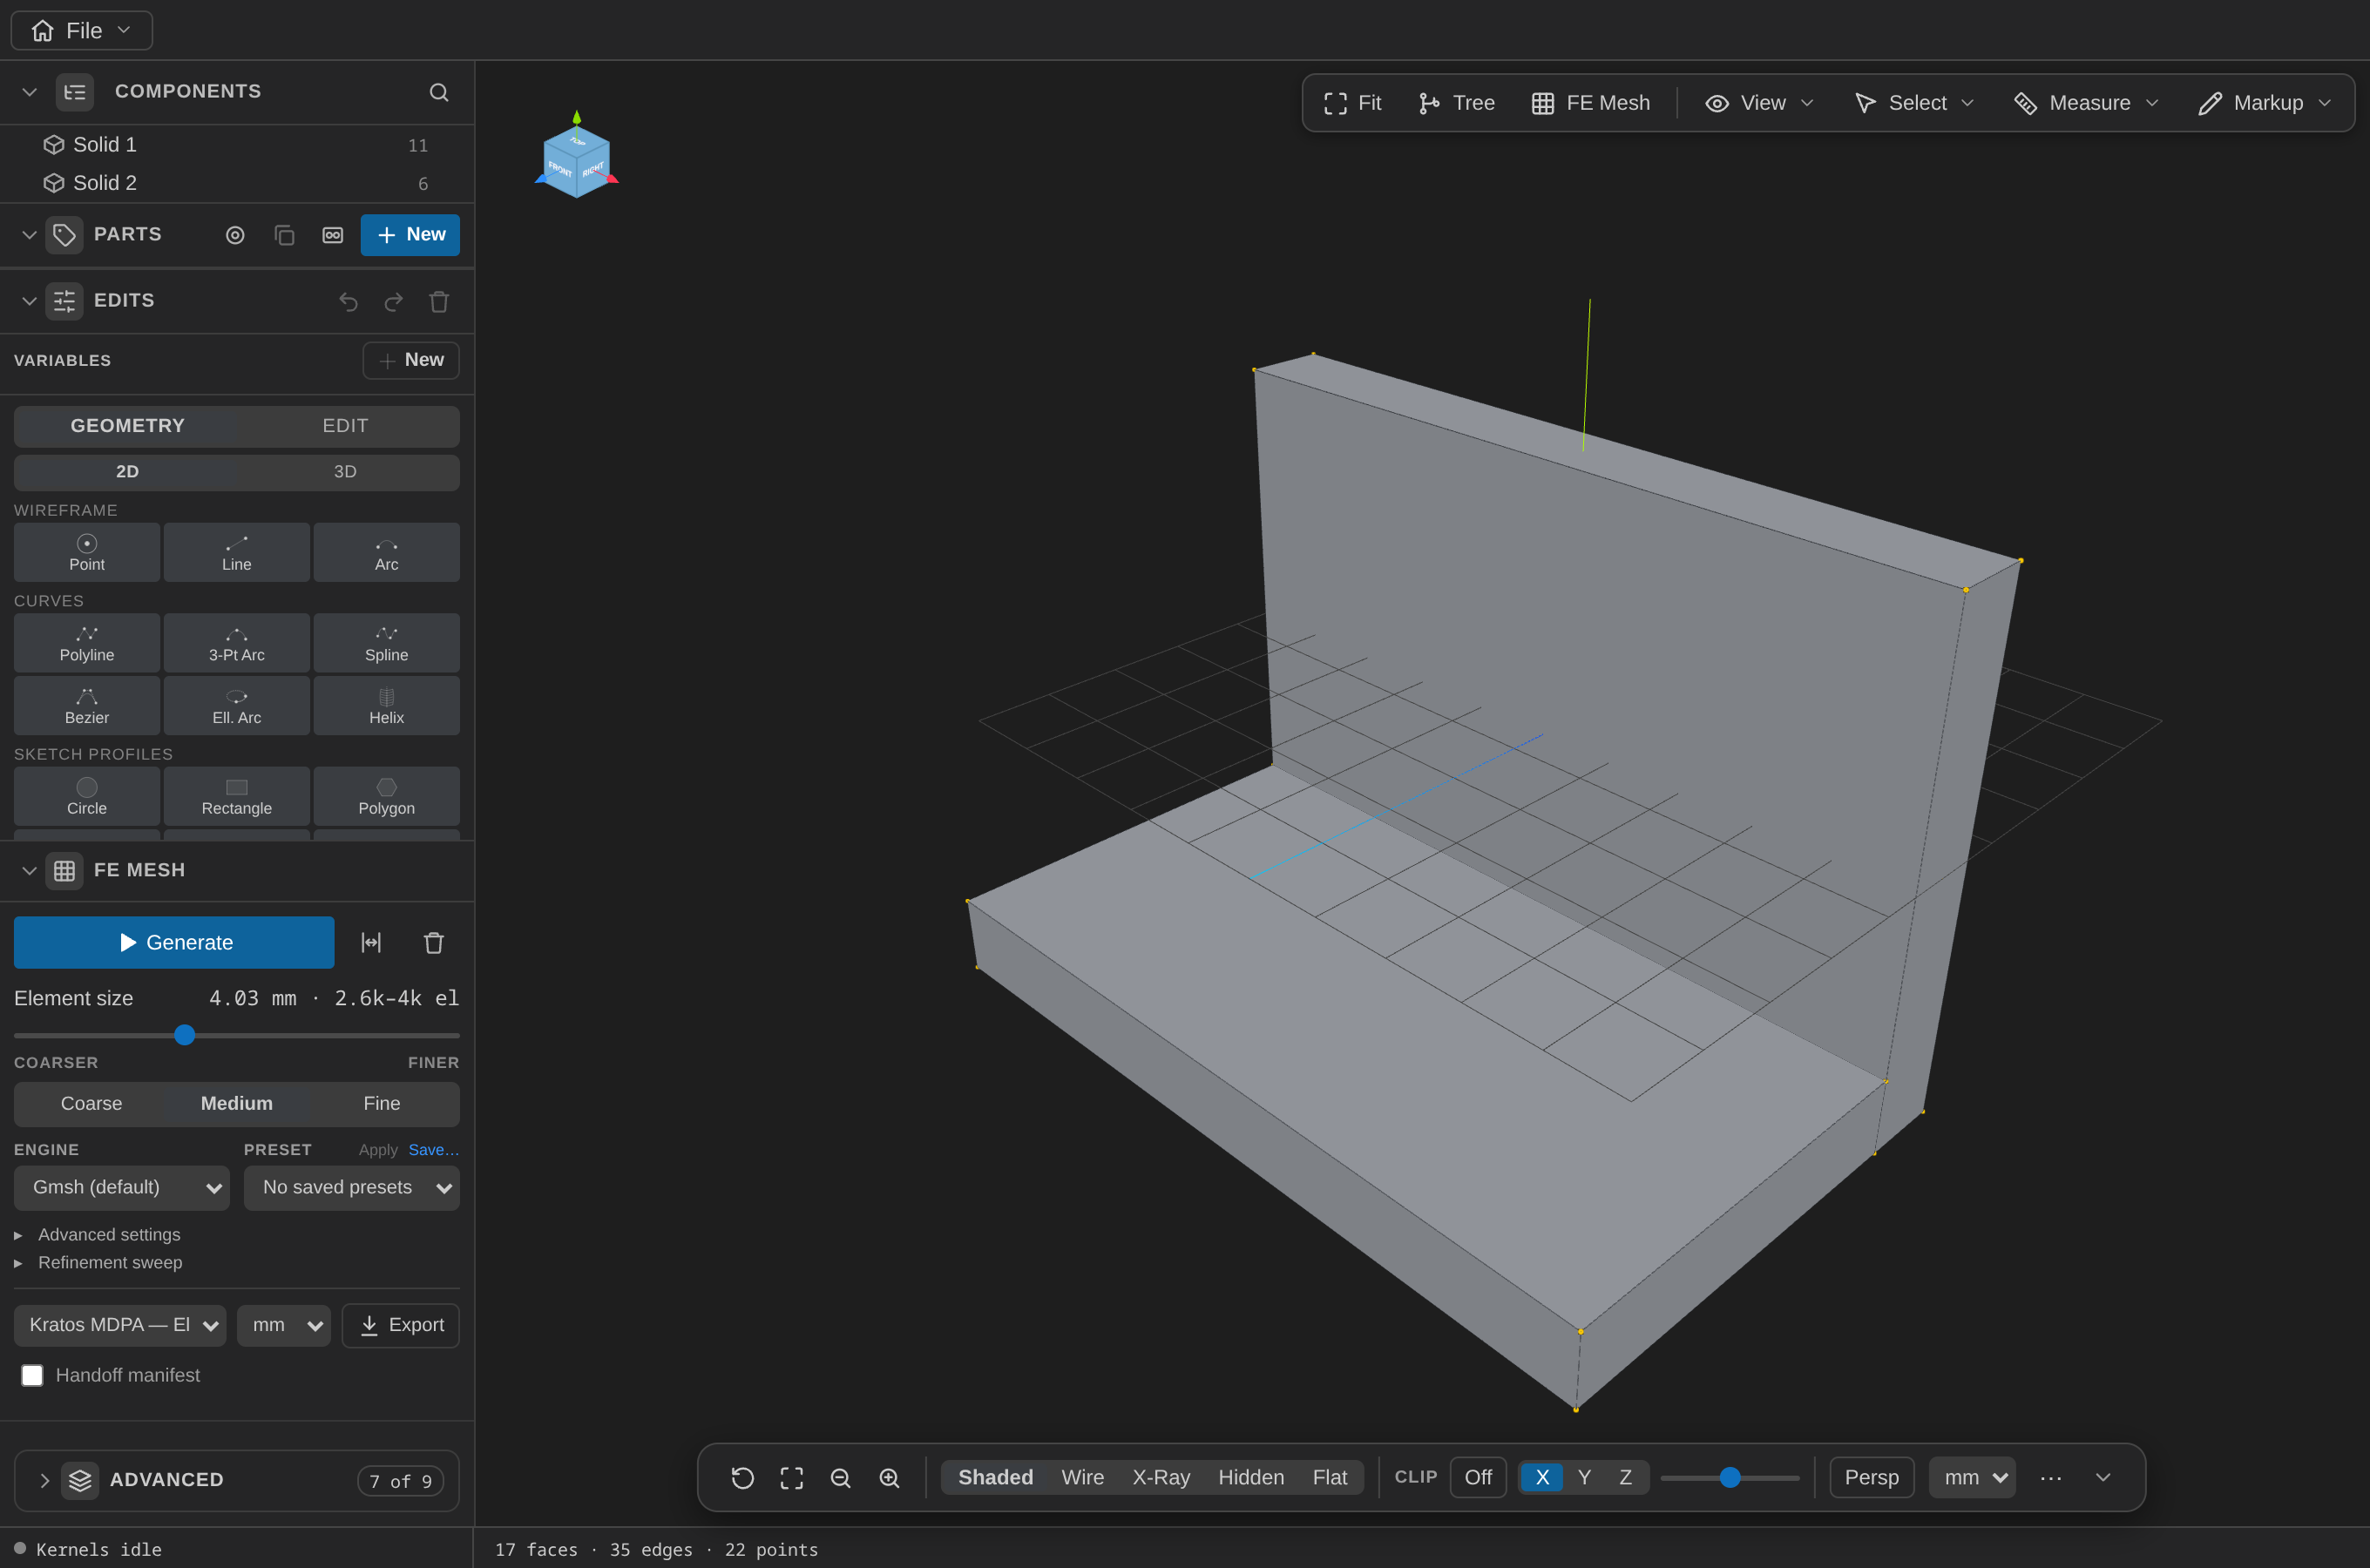
The union renumbers the solids
A boolean rebuilds the model as result first, then everything it did not touch — so the fused bracket becomes solid-0 and the seed block moves to solid-1. This is the entity-id drift that face-N/edge-N/solid-N ids are subject to in general, and it is exactly why the ids in the next two steps are what they are. Check the Components tree if you lose track.
Step 4 — Fillet the inside corner
The inside corner runs along X where the wall's inner face (y = −14) meets the plate's top (z = 3). It is edge-13 in the current model.
- In the EDIT tab, click Fillet.
- With Line selection mode active, click the inside-corner edge in the 3D view — or type
edge-13into the Edges field directly. - Set Radius to
4and click Apply.
A radius of 4 fits comfortably; the plate and wall are both 6 mm thick, and a fillet larger than the thinner adjacent wall will fail to build. When that happens the op is skipped, not silently dropped — the history row shows a ⚠ with the reason.
Step 5 — Two counterbored bolt holes
- In the EDIT tab, click Counterbore Hole.
- Set Targets to
solid-0(the bracket), Position to-22, 10, 3, Axis to0, 0, -1, Radius3, Depth6, CB radius5, CB depth2. Click Apply. - Repeat with Position
22, 10, 3.
Position is the hole's mouth and Axis points into the material — so 0, 0, -1 drills downward from the plate's top face at z = 3, and a depth of 6 takes it clean through the 6 mm plate.
The bracket is done: 18 faces, 52 edges.
Step 6 — Undo, jump, and export
The history is a timeline, not just a stack:
- Click any earlier row to jump the model straight back to that point — the rows after it dim and become pending.
- Click a pending row to replay forward again.
- Hover a row and click ✕ to remove that one op while keeping everything after it.
None of this touches block.stp. Everything you just did lives in block.stp.edits.json beside it. To get a real file out, use File ▸ Export…, pick a format, and the edits are baked into the exported geometry.
Full operation list
[
  { "op": "addBox", "center": [0, 0, 0], "size": [60, 40, 6] },
  { "op": "addBox", "center": [0, -17, 18], "size": [60, 6, 30] },
  { "op": "boolean", "kind": "union", "a": ["solid-1"], "b": ["solid-2"] },
  { "op": "fillet", "edges": ["edge-13"], "radius": 4 },
  {
    "op": "addCounterboreHole",
    "targets": ["solid-0"],
    "position": [-22, 10, 3],
    "axis": [0, 0, -1],
    "radius": 3,
    "depth": 6,
    "cbRadius": 5,
    "cbDepth": 2
  },
  {
    "op": "addCounterboreHole",
    "targets": ["solid-0"],
    "position": [22, 10, 3],
    "axis": [0, 0, -1],
    "radius": 3,
    "depth": 6,
    "cbRadius": 5,
    "cbDepth": 2
  }
]
What you practiced
- Creating bodies with primitives, and the append-only model that makes the seed-block convention necessary.
- Fusing bodies with a boolean union, and the id renumbering that follows one.
- Fillets on a picked edge, and what happens when a radius does not fit.
- The hole family, and the mouth/axis convention its
positionandaxisfields use. - The Edits history as a timeline you can jump around in.
Next: a parametric bolt-circle flange, where the dimensions stop being literals — or prepare this same bracket for FEA.