Model with an AI agent
Everything the previous tutorials did by clicking, an AI agent can do headlessly. CAD Preview ships an MCP server that exposes the same pipeline — the same op model, the same sidecars, the same kernel — so an agent's edits and yours are the same edits.
This tutorial builds the bracket again, this time by conversation, and shows how an agent checks its own work instead of guessing.
It should take about 15 minutes.
Starting point
A copy of examples/STP/block.stp somewhere the agent can read, and the extension built:
npm install
npm run build
Then register the server with your MCP client. For Claude Code:
claude mcp add cad-preview -- node /absolute/path/to/CAD-Preview/dist/mcp-server.jsOther clients take a JSON stanza instead — see MCP Server.
Step 1 — Let the agent orient itself
The first call an agent should make is describe_capabilities. It returns the full op catalog with per-kind parameter shapes, the entity-id scheme, the export matrix, and the conventions the tools follow — so the agent does not have to guess field names or infer what a tool's output means.
The second is load_model, which returns the model's entity inventory:
{ "solids": [{ "id": "solid-0", "label": "Solid 1", "faceIds": ["face-0", "…"] }],
  "edgeCount": 12, "edgeIds": "edge-0 … edge-11", "bbox": { "min": [-1.5, -2, -2.5], "max": [1.5, 2, 2.5] } }
That bbox is the seed block. Everything the agent adds has to work around it, exactly as you did by hand.
Step 2 — Apply the geometry
apply_edit_ops takes the same op objects the panel forms produce. The agent can send them one at a time — checking ids between calls — or all at once:
[
  { "op": "addBox", "center": [0, 0, 0], "size": [60, 40, 6] },
  { "op": "addBox", "center": [0, -17, 18], "size": [60, 6, 30] },
  { "op": "boolean", "kind": "union", "a": ["solid-1"], "b": ["solid-2"] }
]
The response reports what actually happened, per op — not just that the call succeeded:
{ "applied": 3, "notApplied": 0,
  "report": [{ "index": 0, "kind": "addBox", "accepted": true, "applied": true }],
  "model": { "solids": ["solid-0", "solid-1"], "edgeCount": 35 } }
An op that validated but could not build — a fillet radius too large for its edge, an operand id that no longer resolves — comes back applied: false with a diagnostic and a hint. This is the part worth insisting on with an agent: a silent skip is the failure mode to design against, so the tools never have one.
Step 3 — Find the edge, do not guess it
The fillet needs the inside-corner edge. Rather than hardcoding edge-13, an agent can ask:
Which edge runs along X where the wall meets the plate?
and use inspect to check candidates:
{ "entityId": "edge-13", "kind": "edge", "length": 60, "center": [0, -14, 3], "curveType": "line" }Length 60 along the plate's full width, centred at the wall's inner face (y = −14) and the plate's top (z = 3). That is the corner. Then:
[
  { "op": "fillet", "edges": ["edge-13"], "radius": 4 },
  {
    "op": "addCounterboreHole",
    "targets": ["solid-0"],
    "position": [-22, 10, 3],
    "axis": [0, 0, -1],
    "radius": 3,
    "depth": 6,
    "cbRadius": 5,
    "cbDepth": 2
  },
  {
    "op": "addCounterboreHole",
    "targets": ["solid-0"],
    "position": [22, 10, 3],
    "axis": [0, 0, -1],
    "radius": 3,
    "depth": 6,
    "cbRadius": 5,
    "cbDepth": 2
  }
]
Step 4 — Verify, do not assume
This is where an agent workflow earns its keep. Rather than declaring success, it can measure:
get_mass_properties— volume, surface area, centre of mass, inertia.measure_exact— true B-rep-precision distances, edge lengths, and radii, not tessellated approximations.check_interference— whether two solids or parts actually overlap, and by how much.render_snapshot— four rendered views, returned as images the agent can look at.
The tools report facts, never verdicts. check_interference returns hasOverlap and an overlap volume; it does not tell you whether that is a problem. Rendering the model is diagnostic, not authoritative — a concern spotted in a picture should be converted into an inspect or measure_exact check before it is believed. That convention is stated in describe_capabilities' own output, so a well-behaved agent picks it up without being told.
A failed tool call is not a passing check
If render_snapshot reports supported: false because Chromium is not installed, that is need-more-info — not "the model looks fine". The same goes for a network tool that cannot reach its service.
Step 5 — Open what the agent built
The agent wrote to block.stp.edits.json beside the source. Open block.stp in VS Code and the bracket is there — same ops, same history, fully editable by hand from that point on.
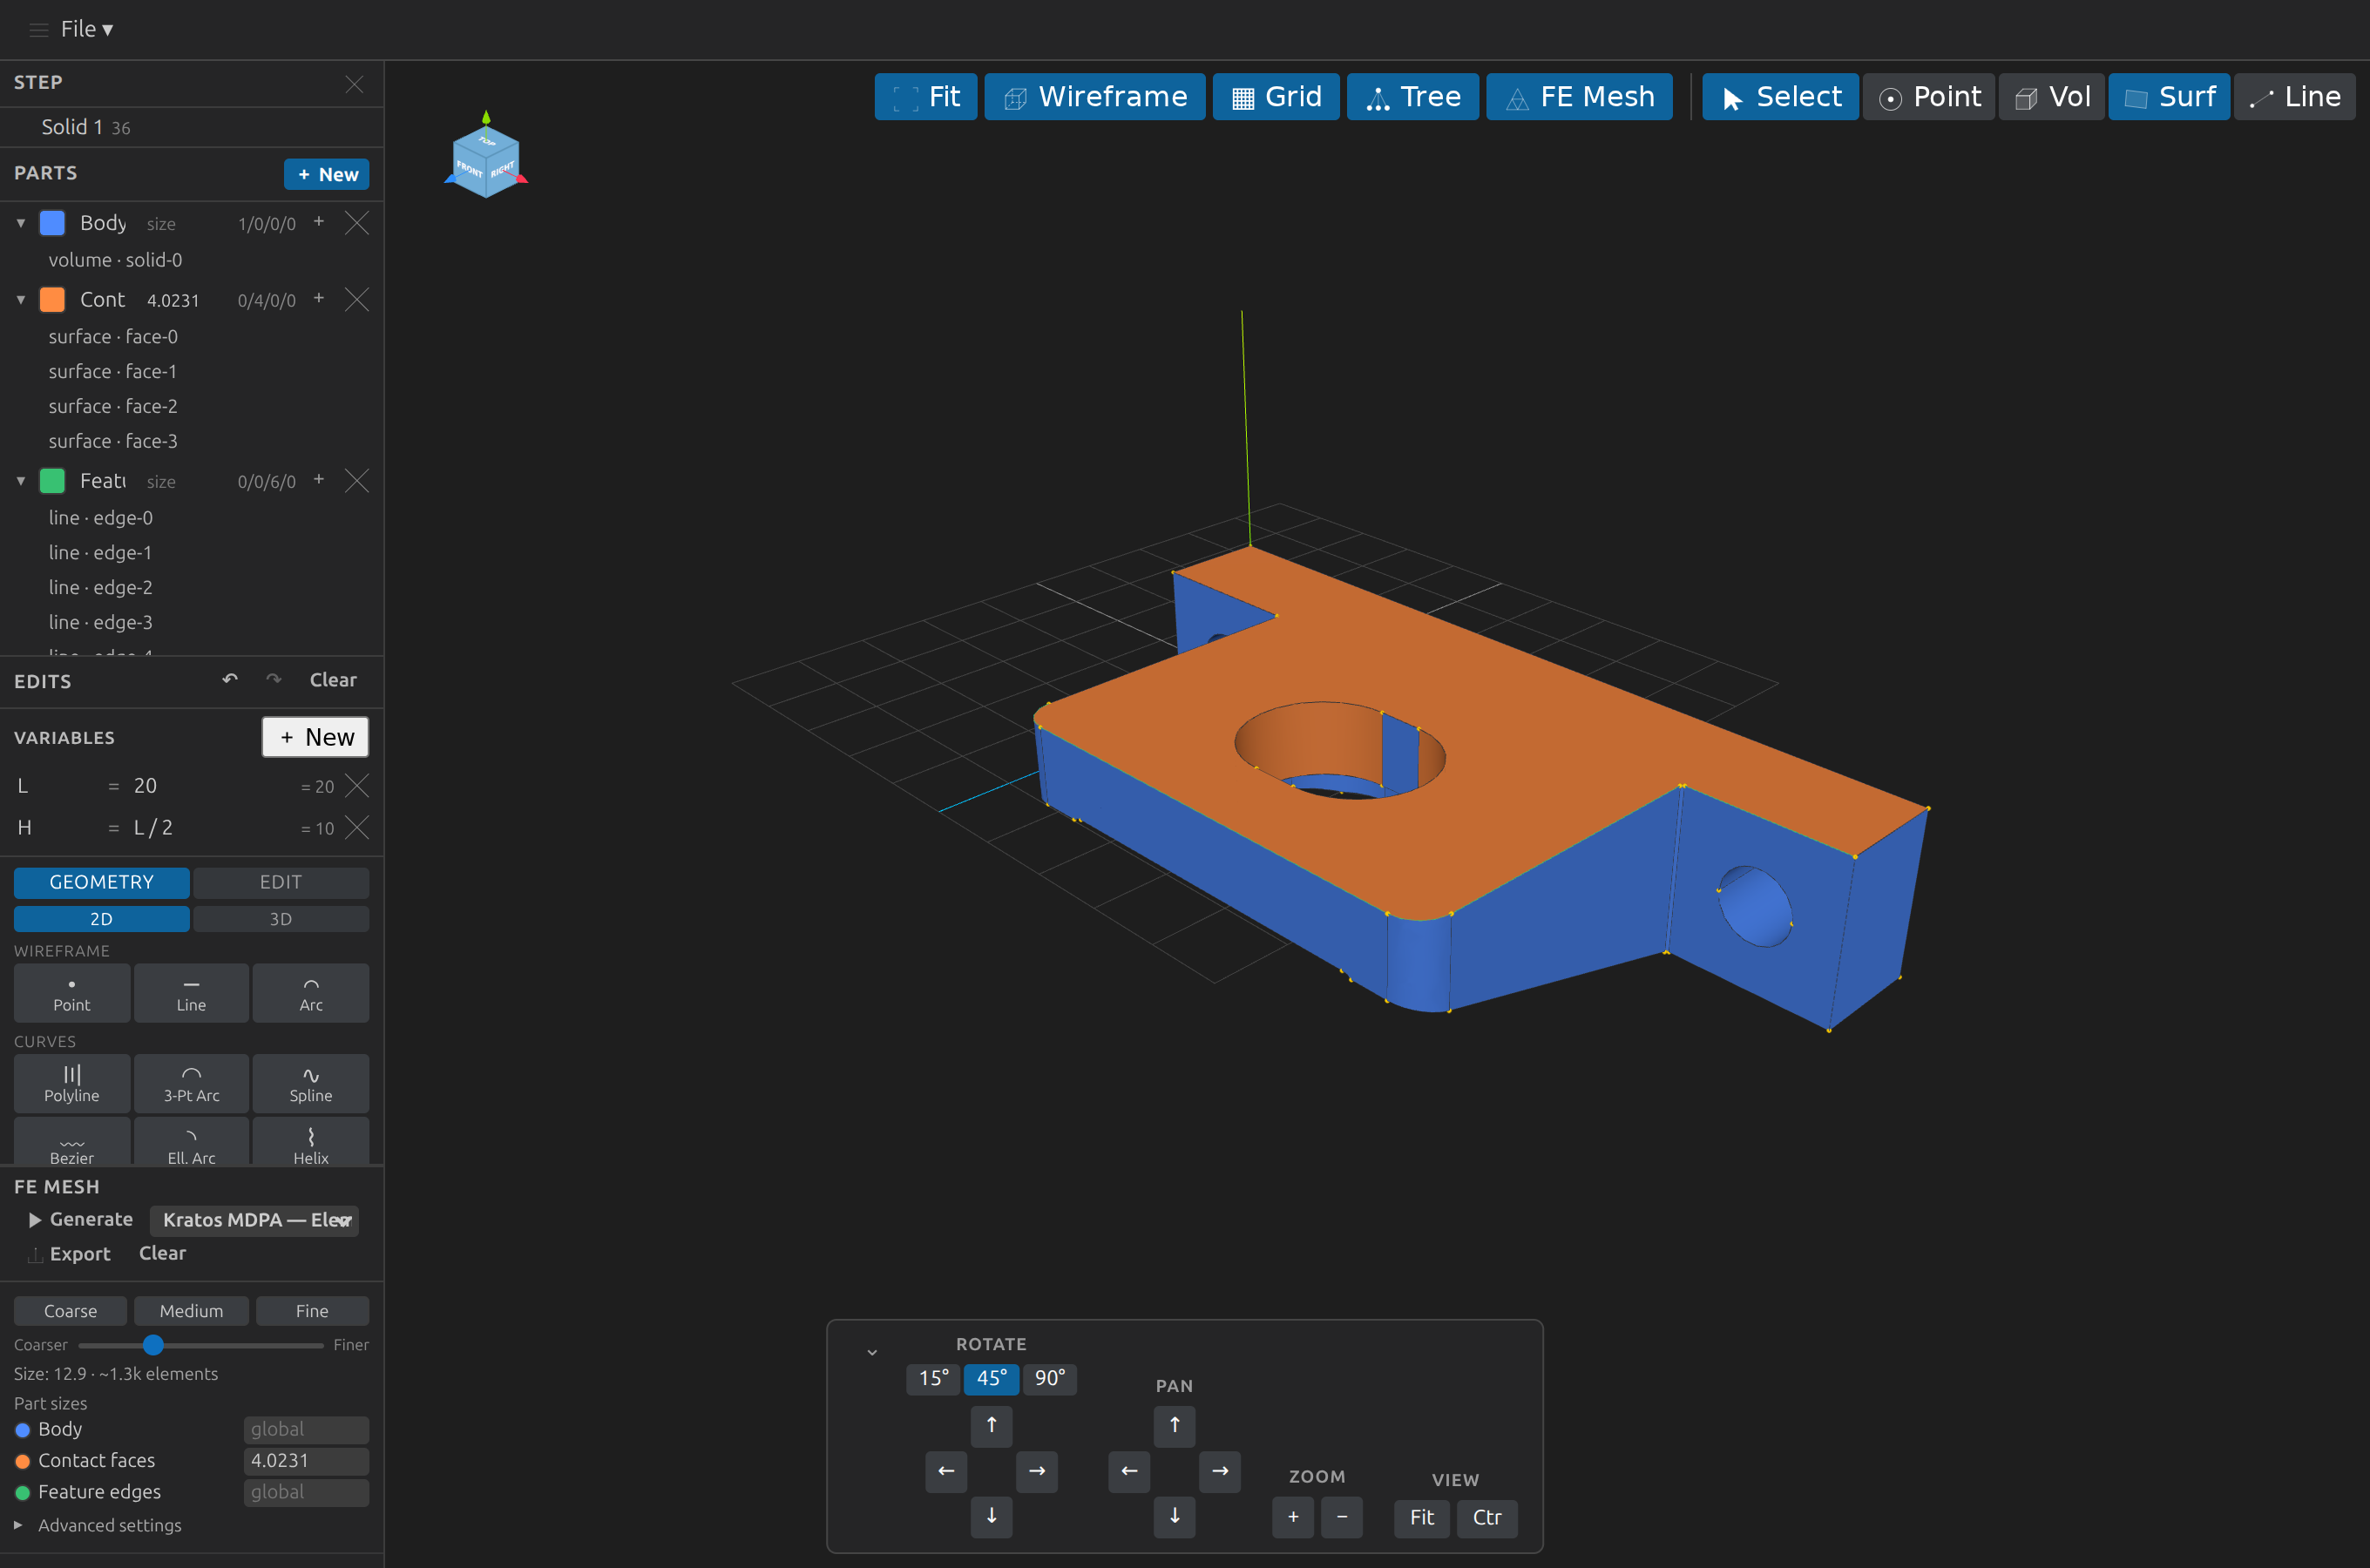
It works in the other direction too. Edit in the viewer, hit Save, and the agent's next get_state sees your changes. If both are open at once, the file watchers reconcile within about a second — an agent's write shows up in the viewer without a reload, and vice versa.
Step 6 — Save the recipe
If this is a shape you will build repeatedly, save_parametric_script stores it as a named macro with its own parameters, and run_saved_script replays it against any model — overriding the variables per call. The same library backs the Macros panel in the sidebar, so a macro an agent saves is one you can run by hand.
What you practiced
describe_capabilitiesas an agent's entry point, so field names are never guessed.apply_edit_opsand its per-op report —applied: falsewith a reason, never a silent skip.inspectto find an entity by its geometry instead of hardcoding an id.- The facts-not-verdicts convention, and why a failed check is need-more-info rather than a pass.
- The shared sidecar model that makes agent edits and hand edits the same edits.
Back to the tutorials index, or read the full MCP server reference.