Tutorials
The Getting Started guide is a reference — one section per panel. These pages are the other half: each one builds a single real part from start to finish, so you can follow along rather than look things up.
Every tutorial is self-contained and takes 10–20 minutes. They share one convention (below), so doing them in order costs less than dipping in, but any of them works on its own.
| Tutorial | What you build | Covers |
|---|---|---|
| Your first bracket | An L-bracket with a filleted corner and two counterbored bolt holes | Primitives, booleans, fillets, hole ops, the Edits history |
| A parametric bolt-circle flange | A round flange whose bolt count and circle radius are driven by variables | Variables, expressions, circular patterns, pattern-then-subtract |
| A shelled enclosure | An open-topped box built from a 2D sketch | Profile sketches, extrude, shell, build-time face roles |
| Prepare a part for FEA | The bracket, meshed and exported for Kratos | Parts, per-part mesh sizing, FE meshing, Kratos MDPA export |
| Model with an AI agent | The same bracket, built by an agent over MCP | The MCP server, apply_edit_ops, inspect, agent verification |
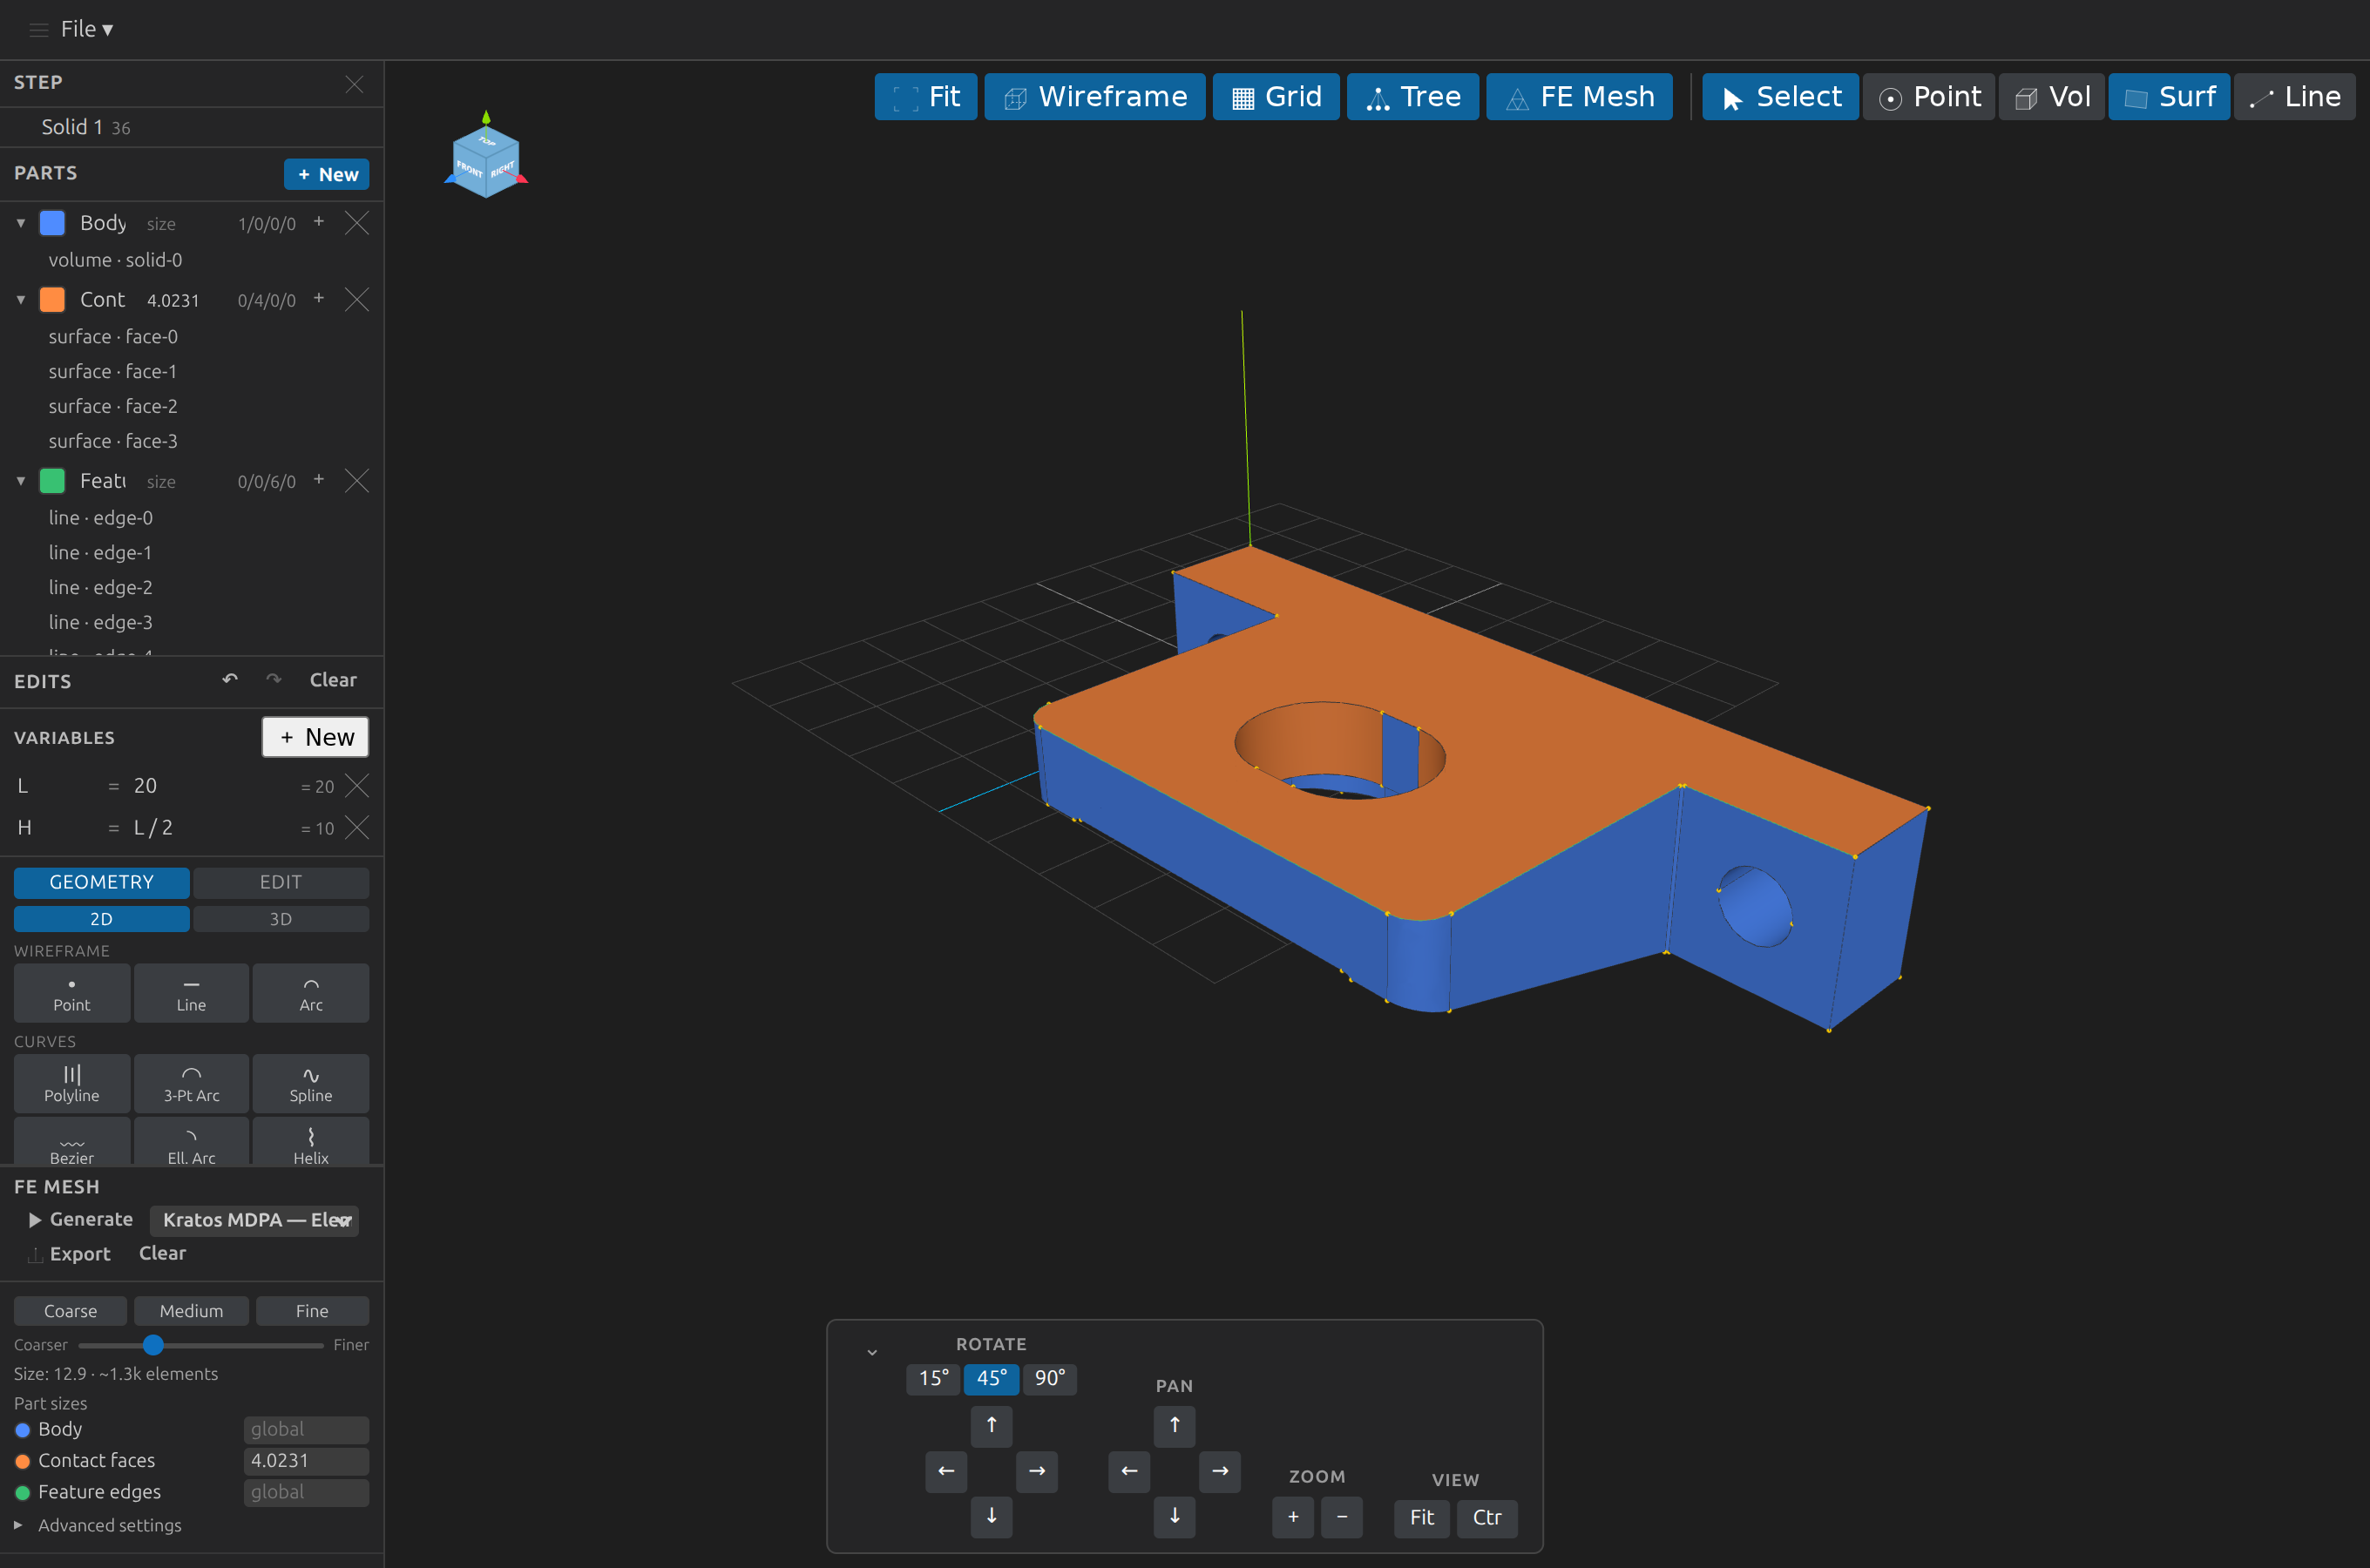
The starting point, and why it looks odd
Every tutorial starts by opening examples/STP/block.stp from this repository — a plain 3 × 4 × 5 mm box centred on the origin.
That is not the part you are building. CAD Preview is a read-only previewer: it opens an existing CAD file and records your work in JSON sidecars beside it, never writing the source. So there is no "new empty document" to start from, and every creation op appends a new body rather than replacing what is there.
The convention these tutorials use is to make the first thing you add fully enclose the seed block. Two separate solids in the same model still occlude each other normally, so the seed disappears inside your part and stays out of the way. It remains in the model as solid-0 — you will see it in the Components tree, and it shifts the ids of everything you add afterwards, which is worth knowing before it surprises you.
If you would rather absorb it than hide it, a boolean union between the seed and your first body works too. The trade-off is that a union renumbers the solids, so every id in the tutorial afterwards moves by one.
Reading the operation lists
Each tutorial ends with a Full operation list — the complete op sequence as JSON. It is not a transcript; it is a payload you can use directly:
- Hand it to the MCP server's
apply_edit_ops(as theopsarray) orrun_parametric_script. - Or paste it into the model's
<model>.edits.jsonsidecar under"ops".
Those blocks are executed by this repository's own test suite on every commit, so an op kind or field that gets renamed breaks the build instead of quietly rotting on this page.
Entity ids (solid-1, face-6, edge-13) are positional — they are indices into the model as it stands at that point in the sequence, and every id in these tutorials was read back from the real kernel rather than guessed. Change an earlier step and the later ids move. The Getting Started guide explains how CAD Preview repairs part assignments when that happens.